- Home
- How It Works

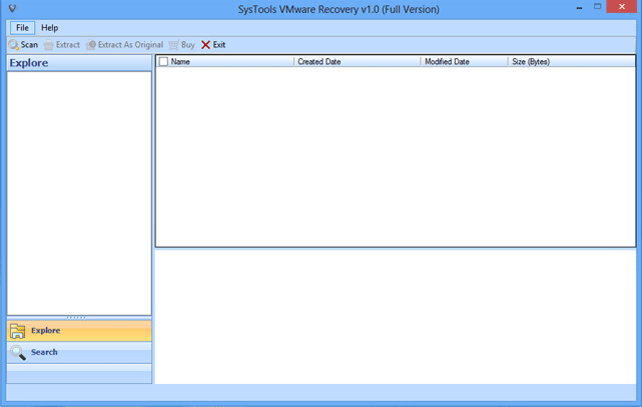
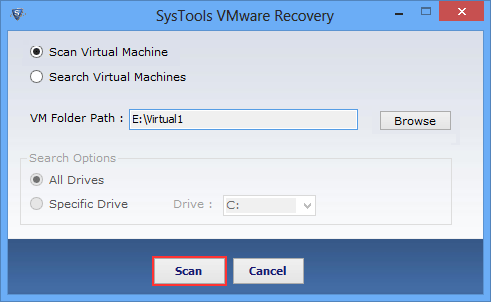
Install and Run Software, Go to Start >> Programs >> VMware Recovery. Initial software screen will appear as displayed below.
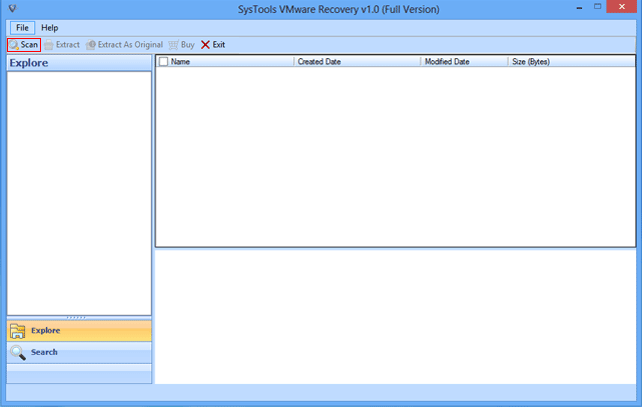
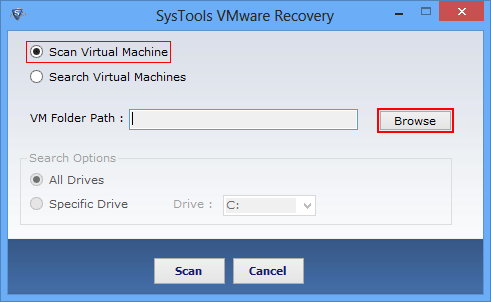
From first software screen, Click on "Scan" to load VMware .vmdk file.
Software provides two options to scan Virtual machine. Choose any one Mode:
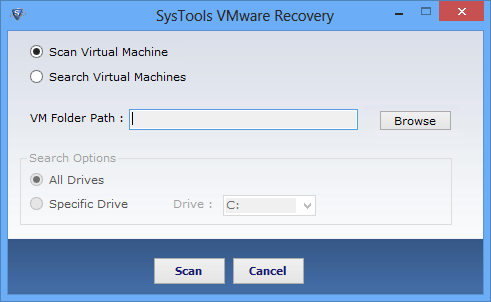
In Scan Virtual Machine – Browse Virtual Machine to scan.
If you don't know the exact path then, choose Search Virtual Machines either from All Drives or Specific drive
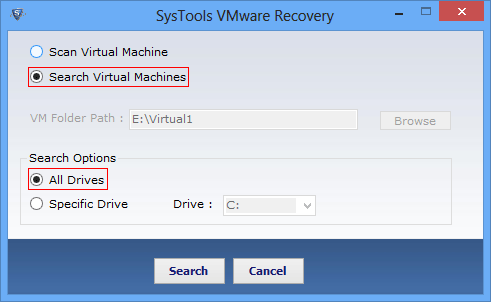
Following Window will appear after choosing All drives search option:
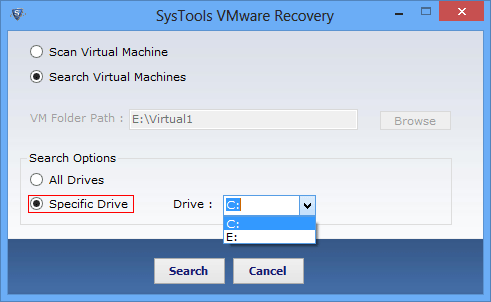
In case of specific drive select the drive in which the data are required to extract.
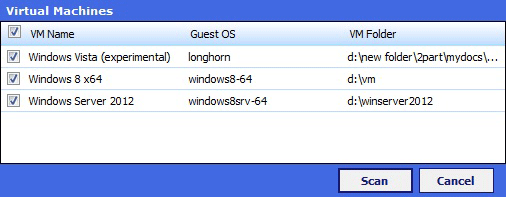
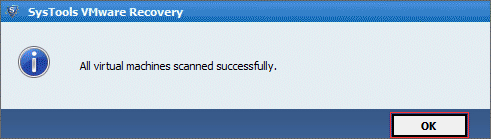
Click on "Scan" button after selecting required steps
Now, software will display notification of scanned VMDK file. Click "OK".
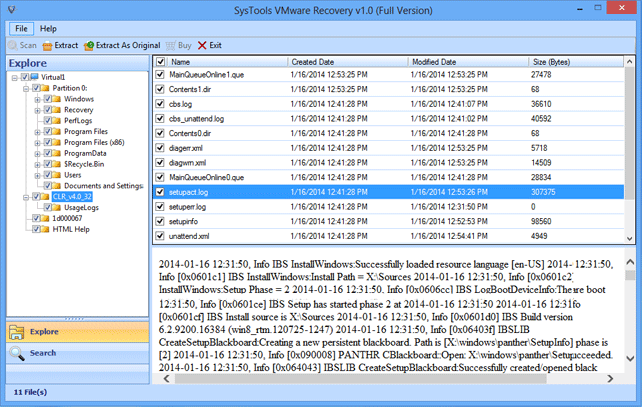
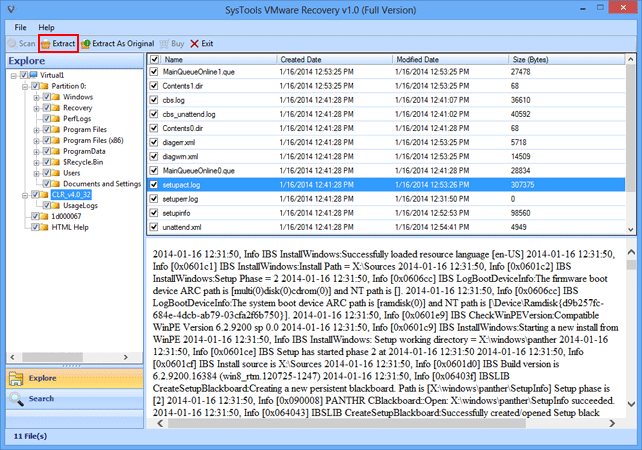
Software will show the preview of data after loading it.
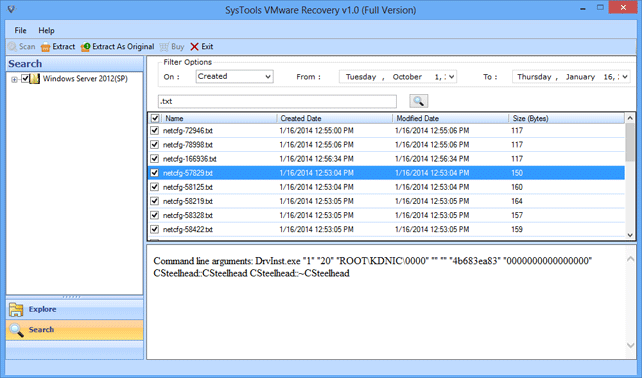
Apply "Search filter" and "Date filter" options for searching particular file from VMDK; you can search it by extension, created date, modified date.
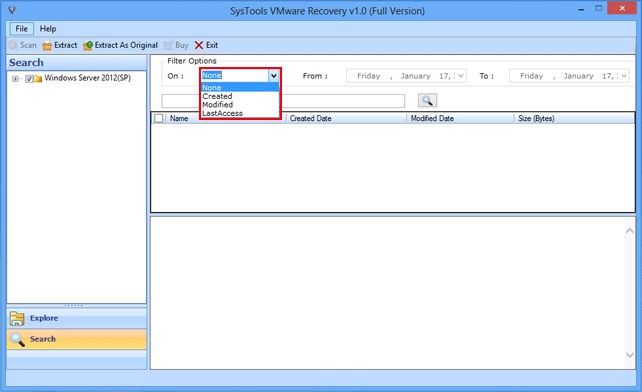
After applying Search Filter option, software will appear following window:
You can Extract and Save data. Choose any one "Saving" option:
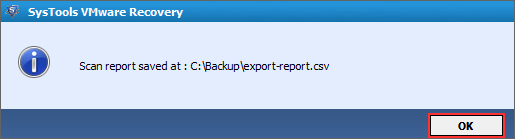
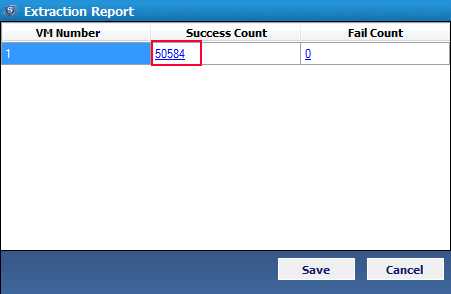
After completed extraction process, View the export report dialog box. Click on link and view data extraction details.
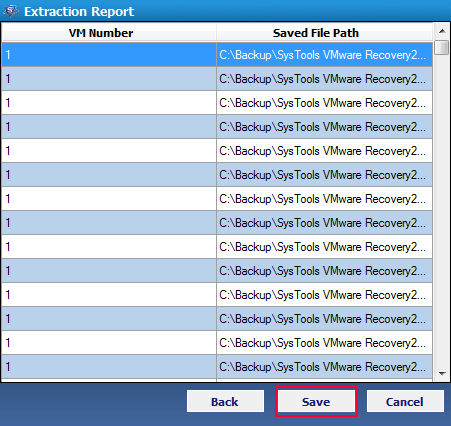
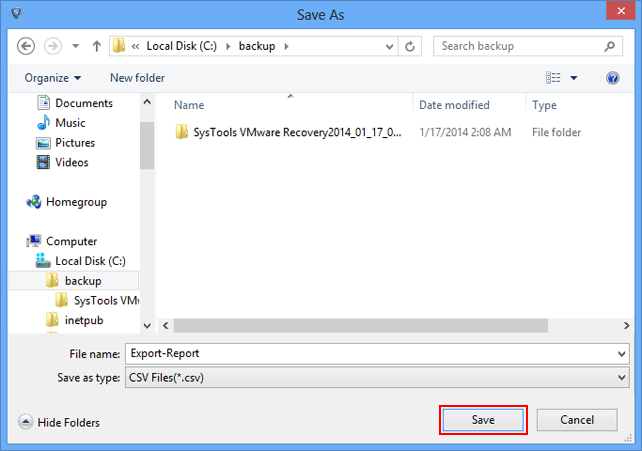
Click Save to store complete Extraction Report in CSV format.
Choose simple name to save report. Click "Save".
After completing Export Report Saving process, Software will pop-up notification message on your screen. Click "OK"